Splunk On-Call (VictorOps)
Splunk On-Call (VictorOps) + Pulse Integration Benefits
- Automatically trigger incidents in Splunk On-Call when Pulse detects critical events.
- Notify users or escalation policies based on flexible targeting options.
- Improve incident response time by integrating alerts into your on-call workflow.
How It Works
Pulse sends incident data to Splunk On-Call using the VictorOps REST API. Alerts are sent as incidents via a POST request to the /api-public/v1/incidents endpoint.
Each request is authenticated using your API ID and API Key, and includes:
summary– The alert subjectdetails– Full alert payload with metadatauserName– The VictorOps user responsible for the alerttargets– Users or escalation policies to notify
Pulse maps alerts directly into incident objects in Splunk On-Call with multi-responder support.
Requirements
- Access to the monitored cluster in Pulse.
- Splunk On-Call (VictorOps) account.
- The following credentials from your Splunk On-Call environment:
- API ID
- API Key
- Username
- At least one target (
UserorEscalationPolicy) to notify
Set Up Splunk On-Call (VictorOps)
- Log in to your Splunk On-Call (VictorOps) admin panel.
- Go to Settings → Integrations → REST Endpoint.
- Copy your API Key and API ID.
- Make sure you have a valid Username (the user responsible for creating incidents).
- Identify the Targets:
- For a user: use their username
- For an escalation policy: use the slug of the policy
For additional setup details, refer to the VictorOps Public API Docs.
Create a Splunk On-Call Alert Destination
- Log in to Pulse and navigate to the monitored cluster.
- Go to Preferences > Alerts Destinations.
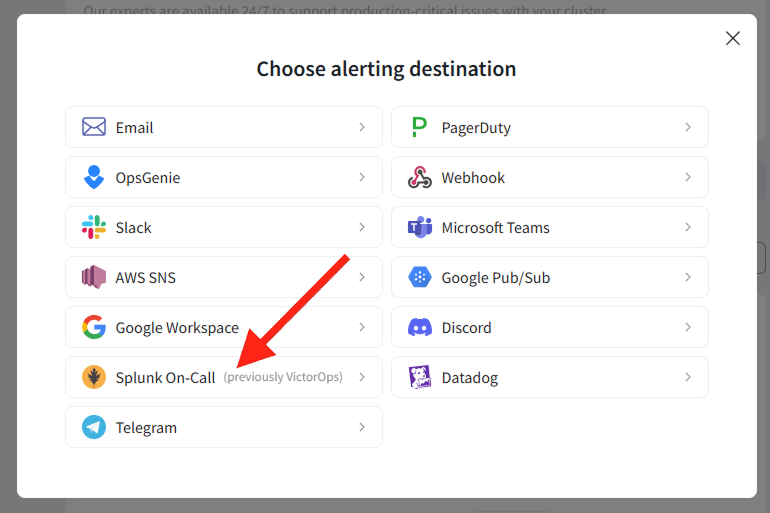
- If no Splunk On-Call destination exists, click + Splunk On-Call.
- Ensure you have your API ID, API Key, Username, and Target (User or EscalationPolicy) as described in Set Up Splunk On-Call
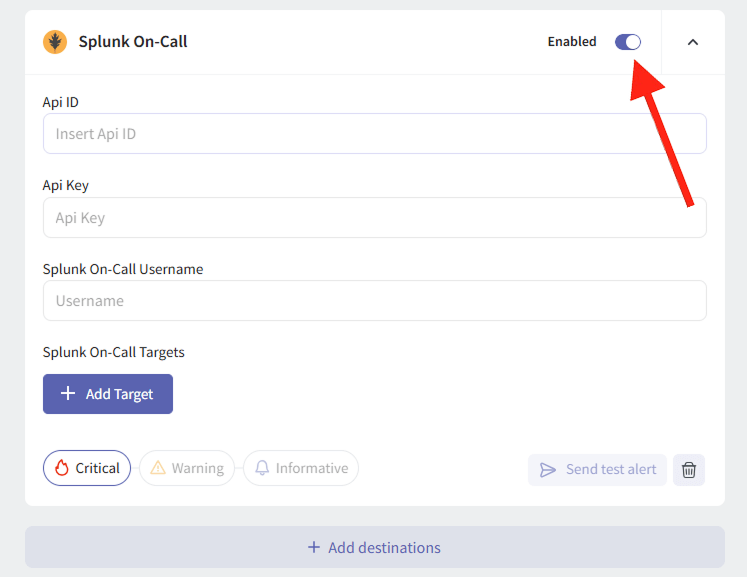
- Provide the required credentials and configure the targets to notify.
- Set the desired alert severity (recommended: critical only).
- Click Save Changes.

Disable the Splunk On-Call Alert Channel
- Log in to Pulse and navigate to the monitored cluster.
- Go to Preferences > Alerts Destinations.
- Disable the Splunk On-Call Alerting Destination by toggling the "enabled" toggle.
- Click Save Changes.

Uninstall the Splunk On-Call Alert Channel
- Log in to Pulse and navigate to the monitored cluster.
- Go to Preferences > Alerts Destinations.
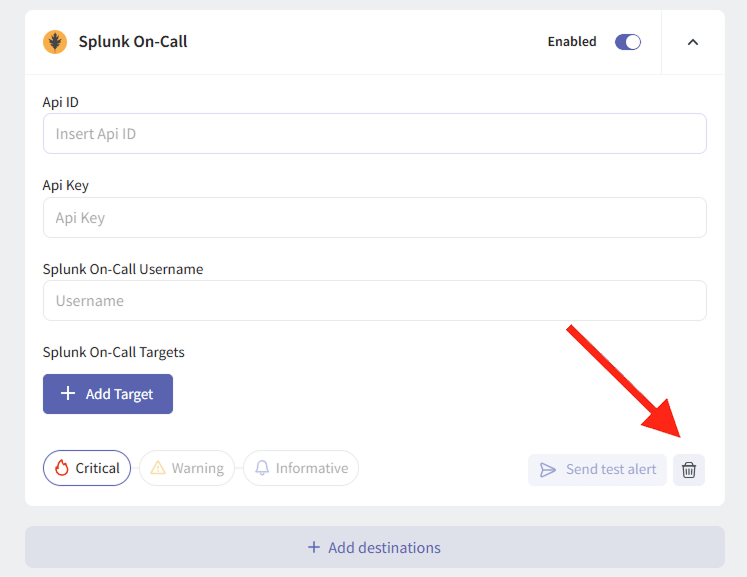
- Remove the Splunk On-Call Alerting Destination by clicking the Remove icon.
- Click Save Changes.

For support please contact hello@pulse.support.