Get started with Pulse
Adding a new cluster to Pulse
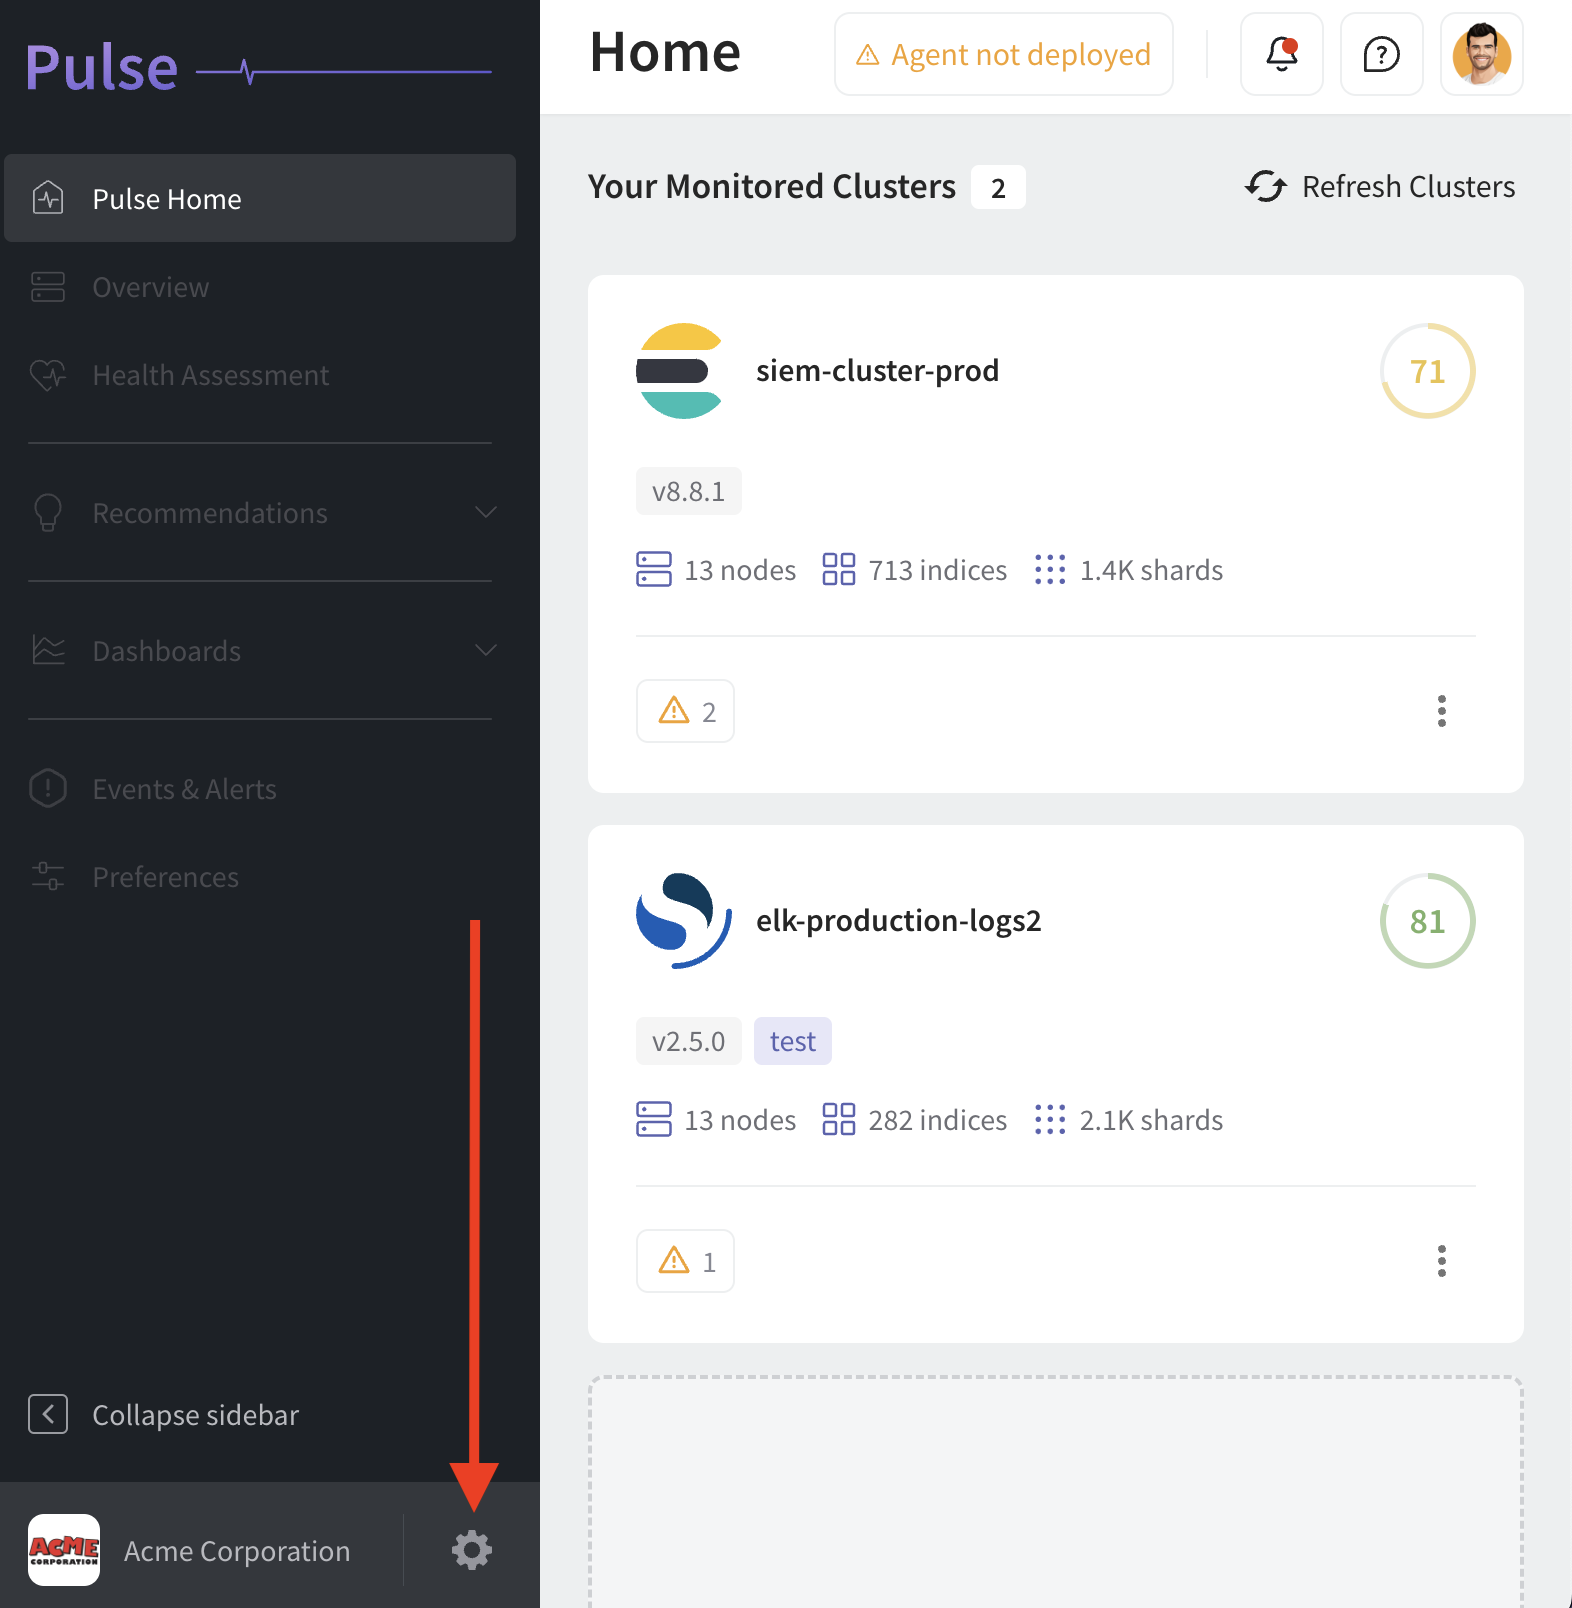
To add a new cluster to Pulse, head over to Pulse Home area and click on the empty panel marked with + Add cluster. You’ll be taken to the Pulse Integration Wizard, by the end of which you'll get relevant customized syntax to get the agent working.
Following is a walkthrough of using the wizard.

Step 1 - Specify cluster type and select authentication method
The Wizard will ask you to specify your cluster type. To choose your cluster type, click on the panel matching your cluster type and version.
Next, you’ll be asked to provide the cluster’s host address and your preferred cluster authentication method. The authentication options provided depend on your cluster type and may include username and password, AWS Identity and Access Management (IAM) or no authentication at all.
Note: Operating clusters without authentication is strongly discouraged. Pulse is not held responsible for the possible consequences of doing so.
Once you fill in all the required fields, click Next in the bottom right corner.
Step 2 - Choose deployment container and configure deployment settings
In the second step of the Wizard, you will need to choose the deployment container for the Pulse Agent. You can add proxy configurations and select your CPU platform.
Once you’re ready, click on Next in the bottom right corner.
Step 3 - Set up monitoring user and deploy the Pulse Agent
In the final step, the Wizard will provide you with two sets of instructions:
- One for setting up a dedicated monitoring user in your cluster,
- And another one for deploying the Pulse Agent for your cluster.
Follow them to start monitoring your cluster’s health with Pulse. Once you’re done, click Finish.
After successfully running the deployment command, the new cluster should appear on your Pulse homepage within a few minutes. You will receive an email notification once the cluster is available.
If the cluster doesn’t appear on the Pulse homepage or you encounter an error, please contact our support team via the Pulse system. Make sure to include your logs (including the error message) and deployment configuration.
Adding a new user to Pulse
To add a new user to your organization, click on the Settings sign in the bottom part of the menu on the left side.

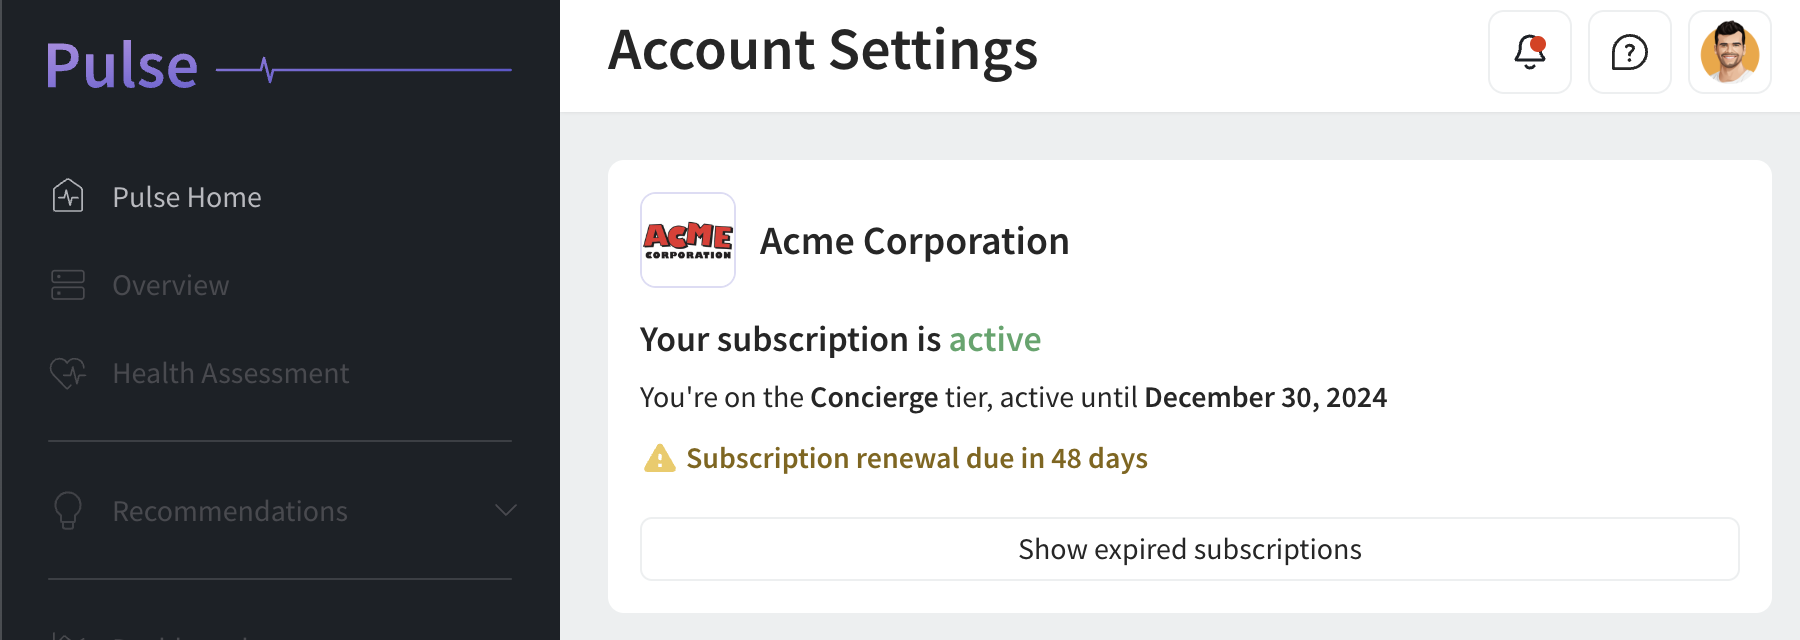
On the Account Settings page, you will see all your subscription details and a list of users assigned to your organization. To add a new user, click + Add user at the top right of that list.

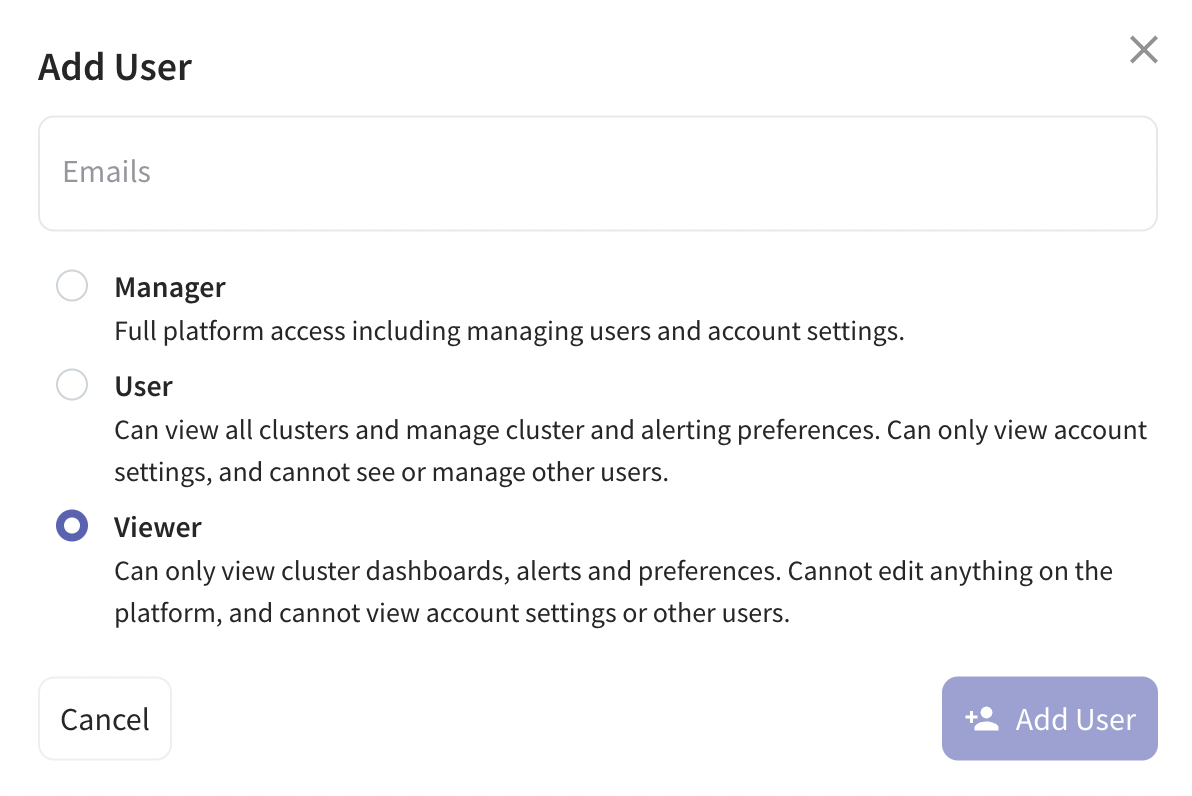
You will be asked to provide the user’s email address and specify their role, choosing from:
- Manager – This role grants full platform access, including managing users and account settings.
- User – Users can view all clusters and manage cluster and alerting preferences. They can only view account settings and cannot see or manage other users.
- Viewer – Viewers can only view cluster dashboards, alerts and preferences. They cannot edit anything on the platform and cannot view account settings or other users.

By clicking on + Add User, an invitation message will be sent to the new user.